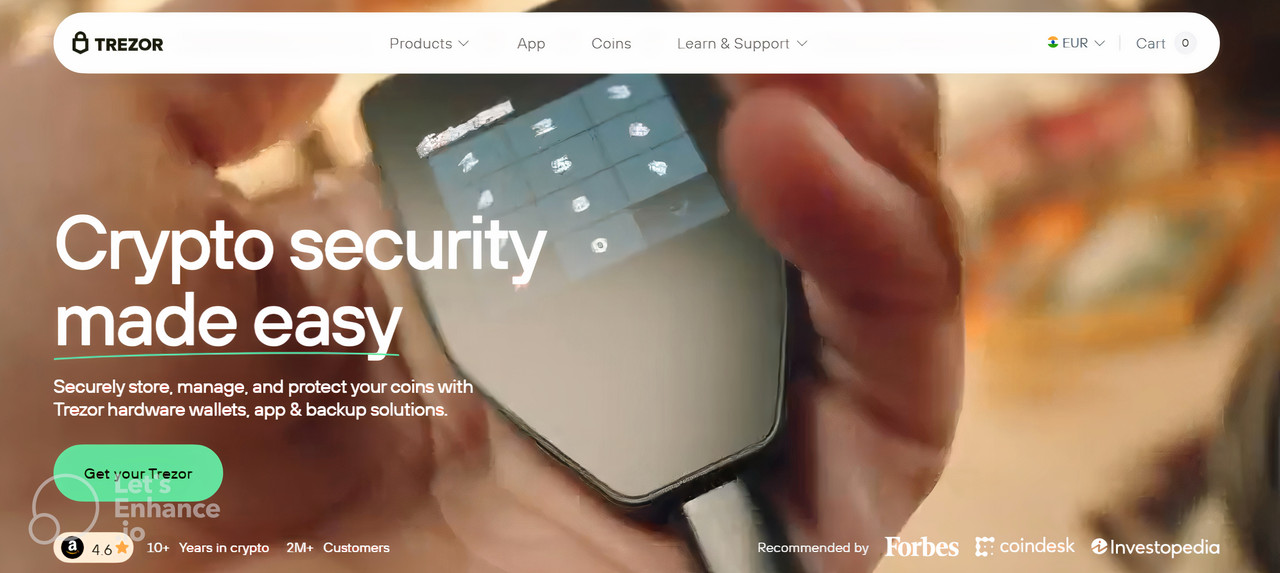
Trezor.io/start – The Complete 2026 Guide to Setting Up Your Trezor Hardware Wallet
Securing cryptocurrency starts with controlling your private keys. Trezor hardware wallets are widely recognized for their security, allowing users to store digital assets offline while maintaining complete control. Trezor.io/start is the official portal that guides users through setting up their Trezor Model T or Trezor One devices safely. This guide provides a comprehensive step-by-step walkthrough, from unboxing your device to managing your crypto accounts with Trezor Suite, ensuring your funds remain secure.
What Is Trezor.io/start?
Trezor.io/start is the official onboarding page for Trezor hardware wallets. It provides clear instructions to help users:
Initialize their Trezor device
Download and install Trezor Suite
Set up a secure PIN and recovery seed
Add cryptocurrency accounts safely
Using the official portal ensures you avoid phishing sites, counterfeit software, and other security risks that could compromise your digital assets.
Why Choose a Trezor Hardware Wallet?
Trezor wallets protect private keys by keeping them offline, providing robust security against online threats. Unlike software wallets, Trezor devices minimize the risk of hacks, malware, and unauthorized access.
Key advantages include:
Offline storage of private keys – Keys never leave the device
User-friendly interface – Easy for beginners and advanced users
Support for multiple cryptocurrencies – Bitcoin, Ethereum, Solana, and thousands more
Transaction verification on-device – Ensures only authorized transactions
Regular firmware updates – Keeps the device protected from emerging threats
Trezor wallets provide both convenience and security for anyone managing digital assets.
Step 1: Access Trezor.io/start
Open a secure browser and navigate to Trezor.io/start. Avoid clicking links from emails or advertisements, as phishing attempts are common in the crypto space. The official portal provides verified instructions and authentic software downloads tailored to your device.
Step 2: Choose Your Trezor Device
Trezor.io/start will prompt you to select your device:
Trezor Model T – Advanced device with a touchscreen and broader coin support
Trezor One – Compact and reliable, perfect for desktop use
Selecting the correct model ensures that setup instructions match your device, avoiding errors.
Step 3: Download and Install Trezor Suite
Trezor Suite is the official desktop and mobile application for managing your cryptocurrency securely. Download Trezor Suite from Trezor.io/start based on your platform:
Windows
macOS
Linux
Android
iOS
Security Tip: Always download Trezor Suite from the official site to prevent malicious software that could compromise your assets.
Step 4: Connect and Initialize Your Trezor Device
After installing Trezor Suite:
Connect your Trezor device via USB
Power on the device
Select “Create new wallet” to set up a new device
Set a secure PIN code
The PIN protects your device from unauthorized physical access. Choose a PIN that is memorable for you but hard for others to guess.
Step 5: Backup Your Recovery Seed
Your Trezor device generates a recovery seed (12, 18, or 24 words depending on the model), which is the only way to restore your wallet if the device is lost, stolen, or damaged.
Best practices for seed security:
Write it down on the provided recovery card
Never store it digitally or photograph it
Never share it with anyone
Trezor will never ask for your recovery seed
This recovery seed is your ultimate backup for crypto assets.
Step 6: Verify Your Recovery Seed
Trezor.io/start guides you through verifying your recovery seed on the device. This ensures that your backup is accurate and complete. Errors in this step could result in permanent loss of access to your funds.
Step 7: Install Cryptocurrency Apps and Add Accounts
Once your device is set up, Trezor Suite allows you to:
Install apps for supported cryptocurrencies
Add accounts to monitor balances and transaction history
Send and receive crypto securely
Trezor Suite acts as your management dashboard while private keys remain safely stored on your Trezor device.
Step 8: Post-Setup Security Tips
Even after setup, ongoing security is essential.
Recommended best practices:
Store your recovery seed offline in a safe location
Enable Trezor Suite password protection
Regularly update firmware and Trezor Suite
Confirm all transactions on your device screen before approval
Avoid phishing emails, suspicious websites, and unsolicited messages
Following these steps ensures your crypto remains secure.
Troubleshooting Common Issues
Minor issues may arise during setup:
Device not detected: Check USB cables or restart Trezor Suite
Incorrect PIN attempts: Multiple wrong entries may lock the device; restore with your recovery seed
Trezor Suite installation issues: Ensure you have downloaded the latest version from Trezor.io/start
The official portal provides support links to help resolve any problems safely.
Why Trezor.io/start Is Safe
Trezor.io/start is the official setup portal for Trezor hardware wallets. It guarantees:
Authentic Trezor Suite downloads
Verified, step-by-step instructions
Up-to-date security guidance
Always confirm the URL begins with https://trezor.io/start and avoid third-party or phishing websites.
Final Thoughts on Trezor.io/start
Trezor.io/start is more than a setup guide; it’s your first step toward full control over your cryptocurrency. By following official instructions:
Your Trezor device will be properly initialized
Your recovery seed will be securely stored
You can confidently manage crypto assets using Trezor Suite
Whether you are a beginner or managing a large portfolio, starting with Trezor.io/start ensures your digital assets remain safe, secure, and fully under your control.